

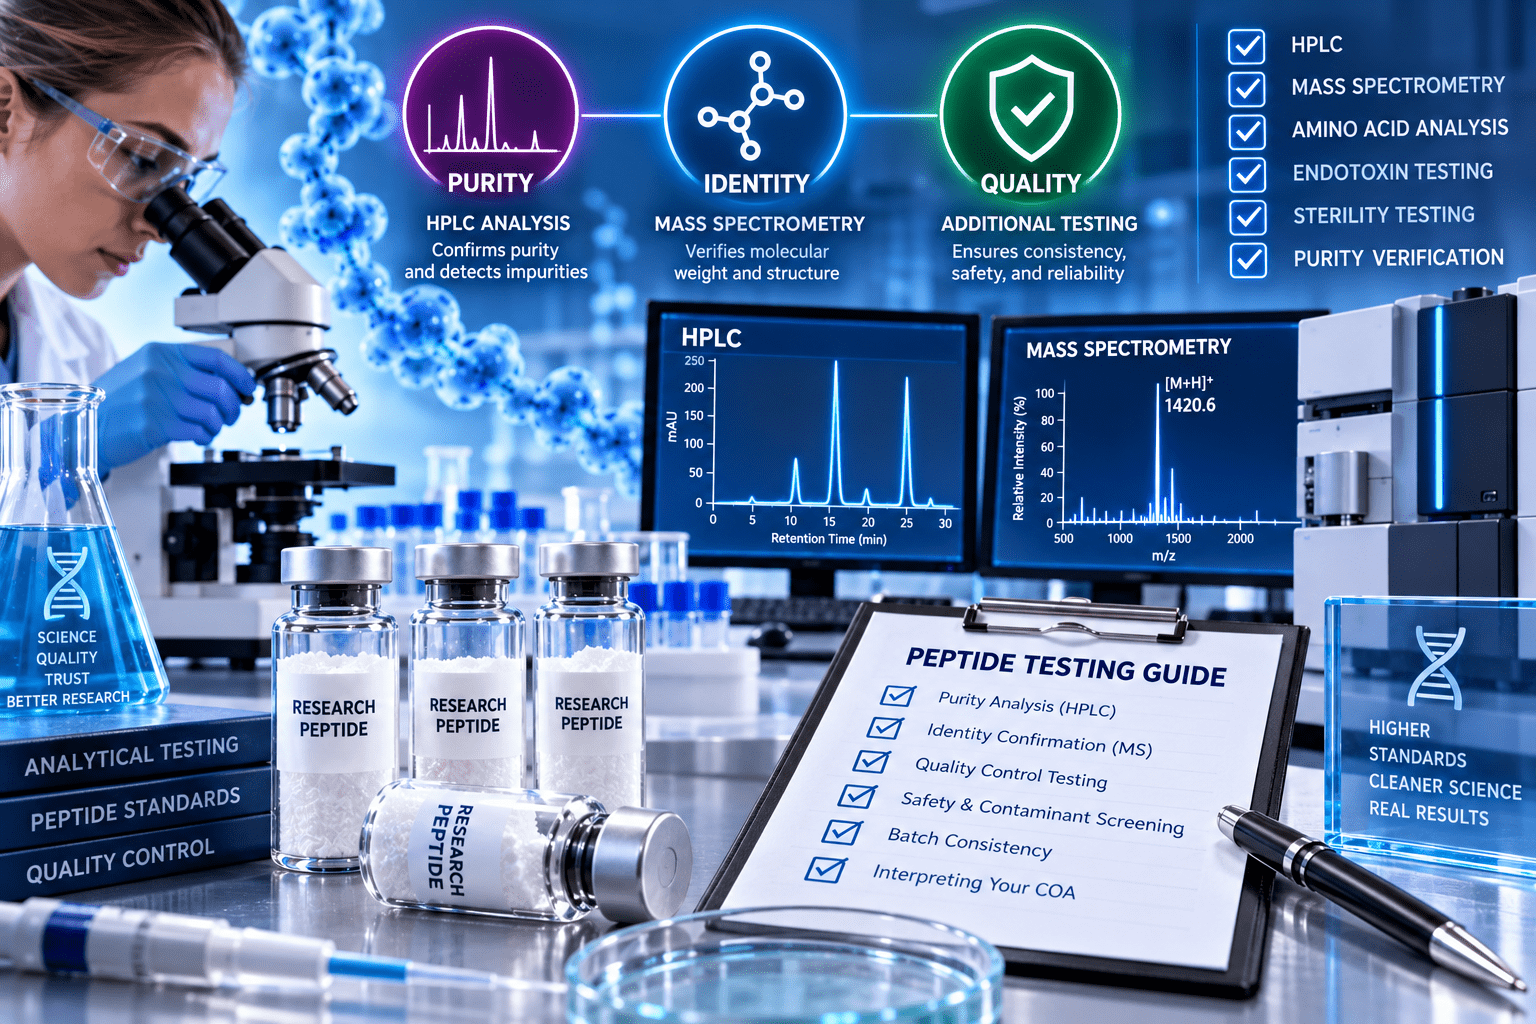
Peptide Testing Guide for Purity, Identity, and Quality
Peptide testing checks what a sample is, how pure it is, and whether unwanted contaminants may be present. For researchers, clinics, vendors, and manufacturers, the value is practical: better data leads to better choices, cleaner records, and fewer costly guesses. This guide covers the main tests, typical peptide purity testing cost drivers, sample intake, and how to read results without getting lost in lab terms.
What does peptide testing measure?
Peptide testing measures identity, purity, quantity, and, when needed, safety traits such as endotoxins, sterility, heavy metals, residual solvents, and moisture. Identity asks whether the sample is the intended peptide. Purity asks how much of the detected material is target versus related impurities. Quantity asks how much usable peptide is in the vial.
That distinction matters because a high purity number does not answer every question. A sample can show a strong purity result by HPLC and still need extra screening if it is used in sensitive peptide research, formulation work, manufacturing quality control, or any setting where contaminants could affect interpretation. Regulatory and USP guidance on synthetic peptide quality often points to several analytic methods rather than one universal test, including chromatography, mass spectrometry, NMR, and tests for impurities or elemental contaminants.
A useful way to think about peptide testing is to separate chemical confirmation from risk screening. Chemical confirmation verifies the target molecule and estimates purity. Risk screening looks for contaminants or conditions that could matter depending on the intended use.
The main methods behind peptide analysis
Peptide analysis usually uses more than one method. No single test sees everything, so labs often combine tests to build a clearer picture of the sample.
HPLC or RP-HPLC for purity
High-performance liquid chromatography, often reversed-phase HPLC for peptides, separates the target peptide from related impurities based on how compounds move through a column. The result is usually a chromatogram and a purity percentage by peak area. This is the base of peptide purity testing because it shows whether the main peak dominates the profile or whether side peaks appear.
HPLC is useful, but method quality matters. Reference data, sample prep, and peak integration all affect the result. A bare purity number without chromatogram detail, sample ID, method notes, or a clear report is less useful than a documented Certificate of Analysis tied to the submitted sample.
LC-MS or LC-MS/MS for identity
Liquid chromatography-mass spectrometry helps confirm whether the molecule’s measured mass fits the expected peptide. LC-MS/MS can add fragmentation data that supports sequence or structural confirmation, depending on the method. USP reference-standard work on synthetic peptide therapeutics describes LC-MS/MS as one tool used to confirm peptide mass and verify sequence, along with other orthogonal methods. (usp.org)
This is why many labs bundle purity and identity together. HPLC may show a clean main peak, but mass spectrometry helps determine whether that peak matches the intended compound. For many research buyers, purity plus identity is a more useful baseline than purity alone.
NMR, ICP-MS, GC-MS, and add-ons
More advanced or targeted tests answer narrower questions. NMR can support structural verification.
ICP-MS is used for elemental impurities such as heavy metals. GC-MS or related gas chromatography methods can be used when residual solvents are a concern.
Recent peptide workflow materials also describe purity and impurity testing by RP-LC-UV or RP-LC/MS, residual solvent analysis by GC or GC/MS, and trace elemental impurity analysis by ICP-MS. (lcms.cz)
Common add-ons include:
- Endotoxin testing: important when bacterial endotoxins would compromise an experiment, formulation, or quality review.
- Sterility or bioburden testing: used when microbe risk is a concern, with true compendial sterility tests often needing longer timelines.
- Heavy metals screening: checks for elements such as arsenic, cadmium, chromium, mercury, and lead, depending on the lab panel.
- Residual solvent testing: looks for solvents that may remain from synthesis or prep.
- Water content or moisture testing: useful because lyophilized peptide mass can include water, salts, or counterions rather than only net peptide.
What does peptide purity testing cost?
Peptide purity testing cost depends on scope. A basic purity or purity-plus-identity test is usually less expensive than a multi-parameter panel that adds endotoxin, sterility, heavy metals, residual solvents, or quantity testing. Published U.S. lab pricing often places basic HPLC purity or LC-MS identity work in the low hundreds per sample, while broader panels can move into several hundred dollars or more depending on add-ons, sample count, and turnaround time. (acslabtest.com)
The price difference is not just a markup. Each additional method needs different prep, instruments, standards, analyst time, review, and documentation. Sterility testing may also take longer than chemical analysis because the method is answering a biological contamination question rather than only a molecular one.
When comparing quotes, look beyond the headline number. Ask what the price includes:
- Is the test HPLC only, LC-MS only, or a purity-plus-identity bundle?
- Does the report include chromatograms, mass spectra, sample IDs, and method notes?
- Are endotoxin, sterility, heavy metals, and residual solvents priced separately?
- Is quantity or net peptide content included, or only relative purity?
- Does the lab confirm final pricing after sample review?
- Is the Certificate of Analysis batch-specific and traceable?
A clinic owner, supplier, or research team considering a bulk purchase may find that testing one vial for identity and purity answers only part of the question. If the material is intended for higher-sensitivity work, a broader panel can be a better budget choice than finding out later that a contaminant, wrong concentration, or batch mismatch affected the project.
How the sample submission process usually works
Most peptide testing workflows are straightforward, but small mistakes can delay results. The lab needs to know what the sample is supposed to be, how much material is available, which tests are requested, and how the final report should identify the sample.
A typical process looks like this:
- Choose the test scope. Decide whether you need purity only, purity plus identity, quantity, or a broader panel with contaminant screening.
- Confirm sample requirements. Labs may request a minimum amount of powder or solution, and requirements can differ by method.
- Label the vial clearly. Use a sample name or code that matches the submission form.
- Complete the intake form. Include expected compound identity, source or lot information where required, requested tests, and contact details.
- Ship according to instructions. Follow the lab’s packaging, temperature, and carrier guidance.
- Approve pricing or invoice. Some labs confirm pricing after intake or sample review before releasing the final report.
- Review the report. Check that the report matches your sample ID, includes the requested tests, and provides enough raw or supporting data to interpret the findings.
Published turnaround examples vary. Some labs advertise peptide purity and identity results in a few business days, while broader panels or compendial sterility testing may need longer timelines. One pricing page notes final pricing is confirmed after sample review, and another lists a 14-day sterility option. (erieanalytical.com)
Choosing the right testing scope
The right peptide testing package depends on the question you need to answer. If you only need a quick screen for a research material, purity plus identity may be enough. If you are qualifying a supplier, checking multiple vials, or documenting manufacturing quality, you may want quantity, batch conformity, and contaminant screening.
Use this practical checklist before ordering:
- For early peptide research: prioritize identity and purity so you know whether the material fits the design.
- For supplier comparison: ask for batch-specific reports with enough support data to compare results.
- For formulation or sensitive assays: consider endotoxin, residual solvents, moisture, and heavy metals when those factors could distort results.
- For manufacturing quality control: use a broader, documented panel and confirm whether the lab methods and credentials fit your compliance needs.
- For clinical decision-making: work within proper medical, regulatory, and lab frameworks rather than relying on research-use testing alone.
Third-party testing can be especially valuable when the seller’s own COA is not enough. Some searchers use the phrase third-party server peptide lab testing definition, but the practical idea is simple: an independent lab tests a submitted sample and issues a report that is separate from the vendor’s claims. The best third-party reports are tied to the exact sample, show the methods used, and provide traceable records.
Clarifying chromate peptide testing and genetic testing
Chromate peptide testing can mean different things depending on context. Some people use it for a specific peptide testing provider or lab setup, while others mean testing for chromate or chromium-related elemental impurities in peptide materials. Because the phrase is ambiguous, clarify whether you are asking about a lab name, HPLC-based peptide purity testing, or chromium speciation and heavy metal analysis before ordering. (peptidebenchmark.com)
Genetic testing is different from peptide purity testing. Genetic testing examines DNA for variations, usually in medical care, ancestry, or forensic contexts, according to the National Human Genome Research Institute. (genome.gov) In some clinical or research environments, genetic information may affect protocol design, study access, metabolism considerations, or risk assessment, but it does not prove that a peptide vial is pure, correctly labeled, sterile, or free from contaminants.
That separation matters. Genetic data may help guide decisions about a person or biological system. Peptide analysis evaluates the material itself. Confusing the two can create false confidence.
Reading results with a quality mindset
A good peptide testing report should help you make a choice, not just show a number. Look for the sample ID, test date, method, expected compound, result, units where relevant, and support data such as chromatograms or mass spectra. If a COA cannot be tied to your vial, your lot, or a traceable lab record, treat it cautiously.
Also remember that testing is a snapshot. One vial does not prove every vial in a batch is identical, and purity testing does not automatically cover endotoxins, sterility, heavy metals, or residual solvents. Better testing reduces uncertainty, but it does not remove the need for sound handling, storage, documentation, and professional oversight.
Key takeaway
Peptide testing turns guesses into useful evidence. HPLC, LC-MS, and related methods can confirm identity and purity, while add-on tests help address contaminants and quality risks that basic purity testing may miss. The smartest approach is to match the testing scope to the stakes of the work: simple screening for basic peptide research, broader panels for higher-risk applications, and credible third-party documentation whenever trust, consistency, or compliance matters.